Port Forwarding Guide
For automatic port forwarding try Simple Port Forwarding
Step 1.
Some routers & modems work best with port forwarding if you have a static
local IP.
Manually set your network interface card ( NIC ) to use a static ip address.
You can also download
my FREE Simple Static IP tool to set it for you.
Step 2.
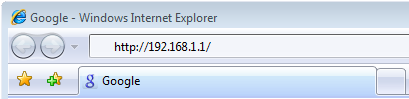
Open your favorite web browser and input your routers ip address in the address bar.
Please note that you must have the http:// in order to connect to your
router/modem properly.
Need help finding you router IP address? Click here
Step 3.
After you log into the router click on "NAT Setting" link on the left of the page.
_001.png)
Step 4.
After the page loads click on the "Virtual Server" link under "Nat Setting" on the left side of the page.
_004.png)
Step 5
Once the page Loads click the "Yes" button for "Enable Virtual Server?"
Now for "Well-Known Applications:" Select "User Defined" from the drop down list.
For "Port Range" put the port range or single port in.
Example: 3000 - 3300 for a range OR 3300 for a single port.
For "Local IP" put in the computer's IP address you want to forward the port to.
For "Local Port" put the port in.
For "Protocol" select the protocol you want to use.
For "Description" go ahead and give your rule a name.
Now to save the rule you just created click the "Add" Button.
Repeat Step 6 as needed to add more ports.
Once you have all the ports added click the "apply" Button.
Once the page reloads now you can click the "Finish" button.
_003.png)
All Done!

